學習 Linux (二)
連上網際網路 (Connect to Internet !)
裝好了 Linux, 開開心心的輸入你的登入帳號和密碼, 預設帳號請輸入 "root" 而密碼則是在安裝時期所指定的密碼 (不知是否還記得 ?!) . 現在你一定會移動你的滑鼠東點西點, 看看這到底是什麼東西, 有什麼新奇、好玩的。
現在, 請先做一個東西, 那就是 "連上網路". 嗯, 如果你是使用固定的網路 IP, 或許在安裝期間已經設定好了, 馬上迫不及待的點選 Panel 上的 "Mozilla (魔斯拉)"。喔, 如果使用的是 ADSL 撥接制的朋友們那怎麼辦呢? 沒有關係, 接下來就要帶入你設定 ADSL 了。
首先, 在桌面上點一下右鍵 (滑鼠啦 ~ 難道會是鍵盤嗎 ?! ), 選取 "開啟終端機視窗", 好, 現在就會跑出一個畫面出來, 可別讓這畫面嚇到了, 現在不熟沒有關係, 我將帶你如何設定 ADSL 撥接到 Internel。
終端機畫面
好, 現在接下來的步驟, 白色粗體字表示要輸入的字請一步一步跟著做, 如果是 <return> 則表示直接按下鍵盤上的 [Enter] 。
|
[root@nbcentos ~]# adsl-setup
LOGIN NAME Enter your Login Name (default root): 84761000@hinet.net INTERFACE Enter the Ethernet interface connected to the ADSL modem For Solaris, this is likely to be something like /dev/hme0. For Linux, it will be ethX, where 'X' is a number. (default eth0):<return> Do you want the link to come up on demand, or stay up continuously? If you want it to come up on demand, enter the idle time in seconds after which the link should be dropped. If you want the link to stay up permanently, enter 'no' (two letters, lower-case.) NOTE: Demand-activated links do not interact well with dynamic IP addresses. You may have some problems with demand-activated links. Enter the demand value (default no):<return> DNS Please enter the IP address of your ISP's primary DNS server. If your ISP claims that 'the server will provide dynamic DNS addresses', enter 'server' (all lower-case) here. If you just press enter, I will assume you know what you are doing and not modify your DNS setup. Enter the DNS information here:<return> PASSWORD Please enter your Password: 123456789 <= 這個密碼在畫面上並不會顯示出來 Please re-enter your Password:123456789 <= 這個密碼在畫面上並不會顯示出來 USERCTRL Please enter 'yes' (two letters, lower-case.) if you want to allow normal user to start or stop DSL connection (default yes):<return> FIREWALLING Please choose the firewall rules to use. Note that these rules are very basic. You are strongly encouraged to use a more sophisticated firewall setup; however, these will provide basic security. If you are running any servers on your machine, you must choose 'NONE' and set up firewalling yourself. Otherwise, the firewall rules will deny access to all standard servers like Web, e-mail, ftp, etc. If you are using SSH, the rules will block outgoing SSH connections which allocate a privileged source port. The firewall choices are: 0 - NONE: This script will not set any firewall rules. You are responsible for ensuring the security of your machine. You are STRONGLY recommended to use some kind of firewall rules. 1 - STANDALONE: Appropriate for a basic stand-alone web-surfing workstation 2 - MASQUERADE: Appropriate for a machine acting as an Internet gateway for a LAN Choose a type of firewall (0-2): 0 Start this connection at boot time Do you want to start this connection at boot time? Please enter no or yes (default no):yes ** Summary of what you entered ** Ethernet Interface: eth0 User name: 84761000@hinet.net Activate-on-demand: No DNS: Do not adjust Firewalling: NONE User Control: yes Accept these settings and adjust configuration files (y/n)? y Adjusting /etc/sysconfig/network-scripts/ifcfg-ppp0 Adjusting /etc/ppp/chap-secrets and /etc/ppp/pap-secrets (But first backing it up to /etc/ppp/chap-secrets.bak) (But first backing it up to /etc/ppp/pap-secrets.bak) Congratulations, it should be all set up! Type '/sbin/ifup ppp0' to bring up your xDSL link and '/sbin/ifdown ppp0' to bring it down. Type '/sbin/adsl-status /etc/sysconfig/network-scripts/ifcfg-ppp0' to see the link status. [root@nbcentos ~]# |
| [root@nbcentos
~]# adsl-start [root@nbcentos ~]# |
喔 ~ 沒有訊號出來, 嗯, 沒錯, 就是沒有任何訊號 (No news is good news ^^). 如果不放心, 那麼就來看看是否真的有得到 IP 吧 !
| [root@nbcentos
~]# ifconfig ppp0 ppp0 Link encap:Point-to-Point Protocol inet addr:220.136.80.204 P-t-P:218.166.144.254 Mask:255.255.255.255 UP POINTOPOINT RUNNING NOARP MULTICAST MTU:1492 Metric:1 RX packets:19 errors:0 dropped:0 overruns:0 frame:0 TX packets:27 errors:0 dropped:0 overruns:0 carrier:0 collisions:0 txqueuelen:3 RX bytes:2244 (2.1 KiB) TX bytes:1763 (1.7 KiB) [root@nbcentos ~]# |
只要看到那個 addr: 有數字就 OK 了! 當然因為是撥接制的, 所以每次都不會一樣.
安全措施 - 防火牆
如果你有使用網路一段不短經驗, 那麼你一定會認同我的話 - 網路是個危險的地方.
以往 (很久以前) 上網是因為方便, 而網路上的壞人也沒有很多, 但是在寬頻的普及下, 越來越多人的電腦變成跳版, 不是被入侵破壞系統就是被人家拿來做侵攻擊別人的跳板.不相信嗎, 這是真的, 現今的網路環境, 就算你不去碰別人, 也會看到你的電腦被一堆不知名的 "人士" 們不段的掃描 ... 也就是說, 就算你呆呆的坐在那裡, 不做任何事, 但只要一連上網路, 那麼你就馬上變成別人掃描的對象了 !
編 輯防火牆條件
首先, 如果我想要各位人兄一開始就使用 vi 這種工具來編輯, 那麼我想應該有很多人馬上就關了本篇了, 所以我現在是想要各位移動滑鼠, 然後再 "應用程式 > 附屬應用程式 > 文字編輯器" 開啟這個 gedit 的文字編輯程式, 如果找不到, 沒關係, 還記得怎麼開終端機視窗嗎 ? 開起來, 然後輸入 gedit 就好了。
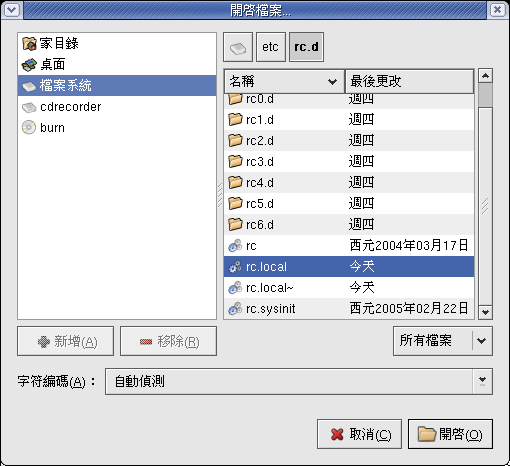
好了, 那麼現在開啟舊檔, 選擇檔案為 /etc/rc.d/rc.local
再來, 大家先不要管以下是什麼東西, 請先全部都複 製起來, 然後把它貼到這個 rc.local 的最後面
| #
清除所有規則 iptables -F #把計數器規零 iptables -Z #清除自訂 chain iptables -X ##指定預設 policy #封包可以 OUTPUT iptables -P OUTPUT ACCEPT #封包不可以 INPUT iptables -P INPUT DROP #封包不可以 FORWARD iptables -P FORWARD DROP #允許本機 lo 介面可以使用 iptables -A INPUT -i lo -j ACCEPT ##指定特定規則 #已連線的封包可以連入 iptables -A INPUT -i ppp0 -m state --state ESTABLISHED,RELATED -j ACCEPT |
貼完之後應該會像這樣子:
好了, 現在按下 "儲存" 就 OK 了!
重 新讀取系統設定檔
現在, 請再開啟一次 (如果您還沒關掉, 那麼還可以繼續使用) 終端機視窗, 輸入 "source /etc/rc.d/rc.local" 就可以了。如果再不知道怎麼做, 沒關係, 那麼請重新開吧, 所有設定值都會直接套用的 !
網路工具
這個小節介紹一些網路的小工具, 可以幫助您使用網際網路。
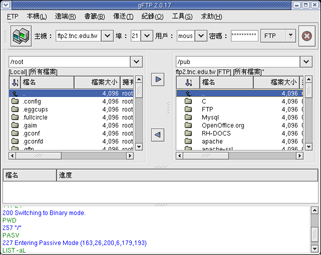
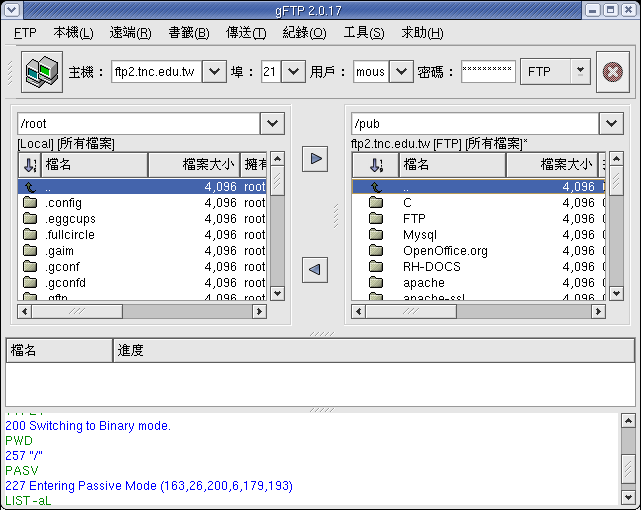
- gftp - 這個就是用來當作 FTP
Client 軟體的工具啦, 可以用這個來連到 FTP 喔!
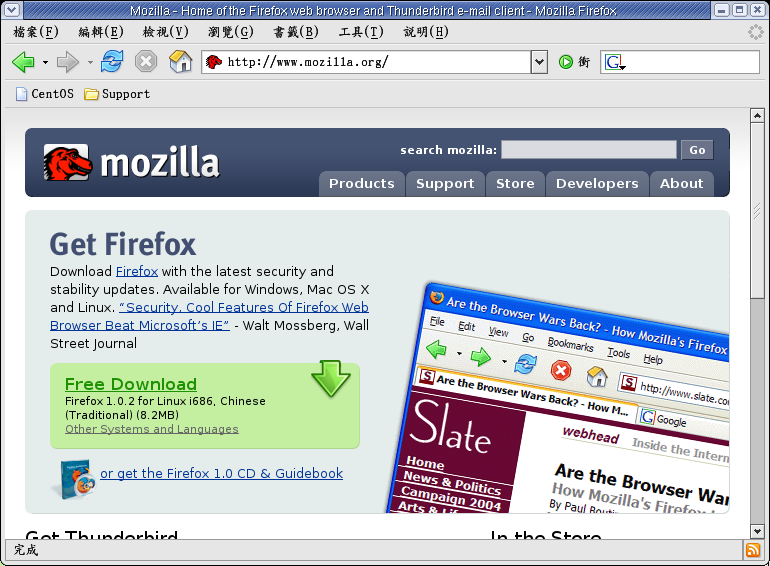
- Mozilla, Mozilla
Firefox - 同屬於 Mozilla 基金會的瀏覽器軟體!

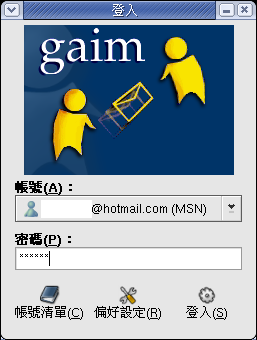
- Gaim - 用來登入 MSN, ICQ,
Yahoo Messenger ... 等 IM 軟體.
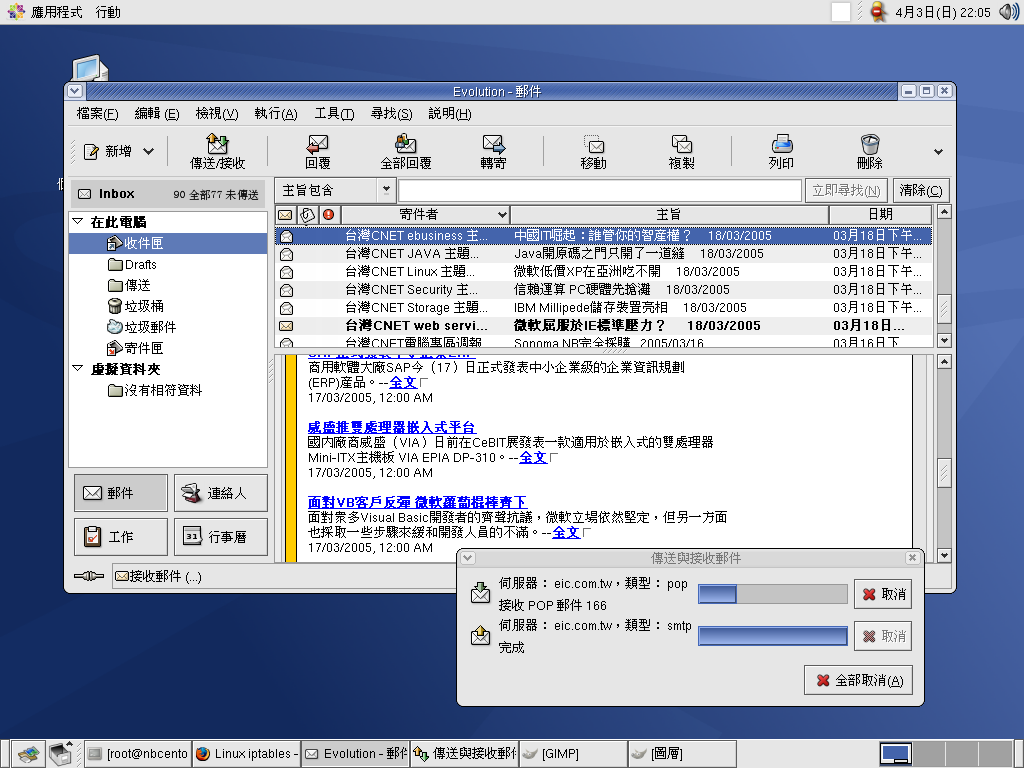
- Evolution, Thunderbird
- 就是收信軟體囉 ~ 看起來是不是和某個 "向外看" 很像呢 ^^

04/03/2005